
Vince The Prince
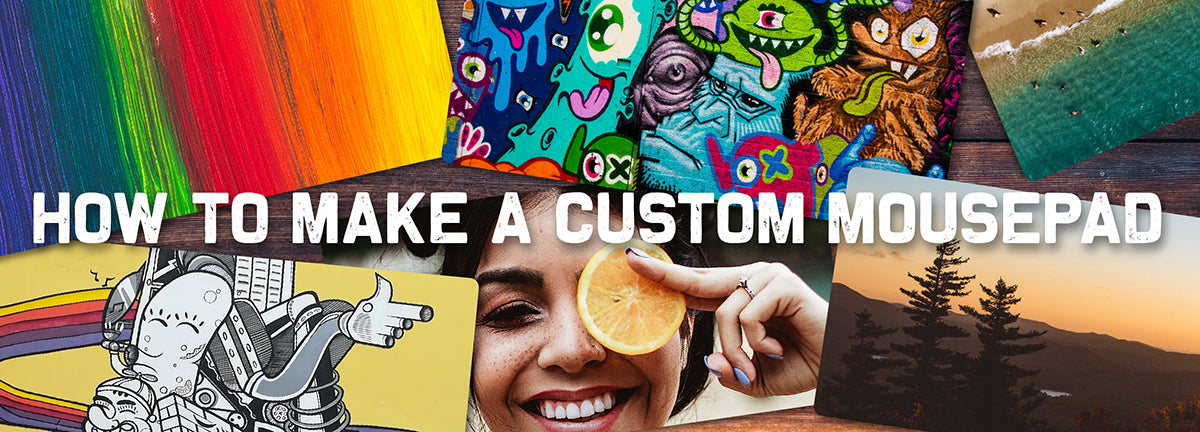
How to Make a Custom Mousepad
You may remember quite a while back, we went over the entire custom playmat process step by step. Well, since so many of our readers/customers seemed interested in how the process worked for our playmats, we thought that we should have one for our mousepads as well. After all, our mousepads are just as popular as our playmats, and the process is just as intriguing. Actually, it’s very, very similar. The only real difference is the sizing and the product itself.
Having a custom desk pad can give your battle station that unique, signature look that you’ve been searching for. Sure, there are so many great mousepads out there that feature pre-designed artwork from another gifted imagination, but nothing beats a custom mousepad that you can truly call your own. We understand that better than any, which is why we made it an option for our customers and fellow gamers.
We’ve mastered the art of custom printing and made it so your design is created and brought to life just the way you envisioned it. With that in mind, let’s go through the steps and find out how our custom mousepads are made…together.
Step 1.) Select a size that fits you
First things first, you must select a suitable size for your mousepad. Something that fits not only your desk/battle station but your play style as well. For instance, if you’re comfortable with a more traditional pad, you can stick with the Classic size. However, if you have a habit of running your mouse off the pad or prefer something that covers a larger area of your desk, you may want to go with one of the bigger sizes.
Here are the different mousepad sizes that we offer:
- Classic (9” x 8”)
- Large (13” x 11”)
- XL Gaming ( 18” x 16”)
- Thin Desk Mat (24” x 14”)
- Large Extended (35” x 16”)
- XL Extended ( 36” x 18”)
- XXL Extended Mousepad ( 48” x 24”)
Step 2.) Choose your design
Once you’ve picked out the perfect size pad for you, it’s time to think about what you want it to look like. Remember, this mousepad is sort of like a blank canvas that’s waiting to be painted on, so search the deepest and furthest corners of your imagination to come up with something that shows off your unique personality or perhaps even advertises your own personal brand.
Yes, we’re all for freedom of expression here at Inked Gaming. However, there is a small boundary that we would like for you to stay within, which is mapped out in our terms and conditions policy. Please read this carefully before deciding on your design, and if you think something is questionable, feel free to reach out to us. Other than that, we encourage you to be as creative as your imagination allows you to be.
Step 3.) Upload your design
Now comes the fun part. After you’ve settled on a custom design that you’re passionate about, it’s time to upload it. Uploading your design is fairly simple. All you have to do is drag & drop or upload the image from your computer. We even give you the option to upload your design from other sources, including Instagram, Facebook, Dropbox, or your Google Drive.
The only thing you need to keep in mind during the upload process is how to best prepare you file to ensure that it comes out correctly on our end. You can do this by following the guidelines listed below.
To prepare your file, follow these sizing guidelines:
- Classic - images must be 8 1/4" x 9 3/4" with a 1465 x 1240 resolution
- Large Gaming - images must be 13.5" x 11.5" with a 2025 x 1725 resolution
- XL Gaming - images must be 16.5” x 10.5” with a 2475 x 1575 resolution
- Thin - images must be 18.5" x 16.5" with a 2775 x 2475 resolution
- Large Extended - images must be 35.5" x 16.5" with a 5325 x 2475 resolution
- XL Extended - images must be 36.5" x 18.5" with a 5475 x 2775 resolution
- XXL Extended - images must be 49" x 24.5" with a 7350 x 3675 resolution
Some additional guidelines to consider when uploading include:
- Make sure in your editing program you have guides turned on to see them. (DO NOT add 1/4" solid color trim.)
- All resolutions should be @ 150 PPI for better results.
- Your image mode must be set to RGB.
- Be sure to save your image as a JPG.
We also have templates available, if needed, that work with Photoshop and Gimp 2.0.
Step 4.) Upgrade your pad (optional)
Before you hit that ‘add to cart’ button, we encourage you to consider some of the upgrades that are offered with our custom pads. These upgrades promote better protection for your pad and allow you to follow the custom printing process from start to finish.
These upgrades are:
- Stitched Edging - If you want your mousepad to last and not fall victim to harmful fray, and other wear & tear, we suggest adding our stitched edging upgrade to it. The stitched edges make your pad more durable and give it a nice look and feel as well. It’s definitely an upgrade that your mousepad will thank you for in the long run.
- Editing & Preview - Want to make sure that your custom design comes out looking exactly the way you imagined it on the pad? We get it. That’s why we’re offering an Editing & Preview upgrade with our custom mousepads, which allows you to follow the process. With this upgrade, you’ll have access to sizing, color correction, and other editing options that will ensure your satisfaction with the finished product.
Keep in mind that the Editing & Preview upgrade can potentially add a few days to the standard 3-7 business days needed to produce this desk mat.
Step 5.) Let us take it from there
You’ve done your part, now it’s time for us to do ours. We will take your custom design and happily bring it to life on the mousepad of your choice. This is what we do, and we’re one of the best in the biz at doing it, especially since we’ve mastered the art of custom printing. Once we’ve worked our magic, we’ll promptly have your pad shipped to your address.
It would be so cool if we could just snap our fingers and have your personalized pad land on your desk, but that’s another magical power that we still have yet to master. We’ll let you know when/if that ability comes to fruition. In the meantime, we will leave the transportation to the shipping companies. Again, it takes about 3-7 business days for our production wizards to create your product before shipping, so just note that as you mark the days on your calendar.
As always, if you have any questions about any part of the process, feel free to leave those in the comments below and we will get back to you with an answer as soon as we can.
Until we meet again!
Vince the Prince


0 Comments